Yoga with Sara
  • Yoga with Sara
  • Classes Descriptions & Registration
  • About
  • Shop
  • Class Polices
  • Yoga Blog
  • Contact

Composting

4/15/2017

0 Comments


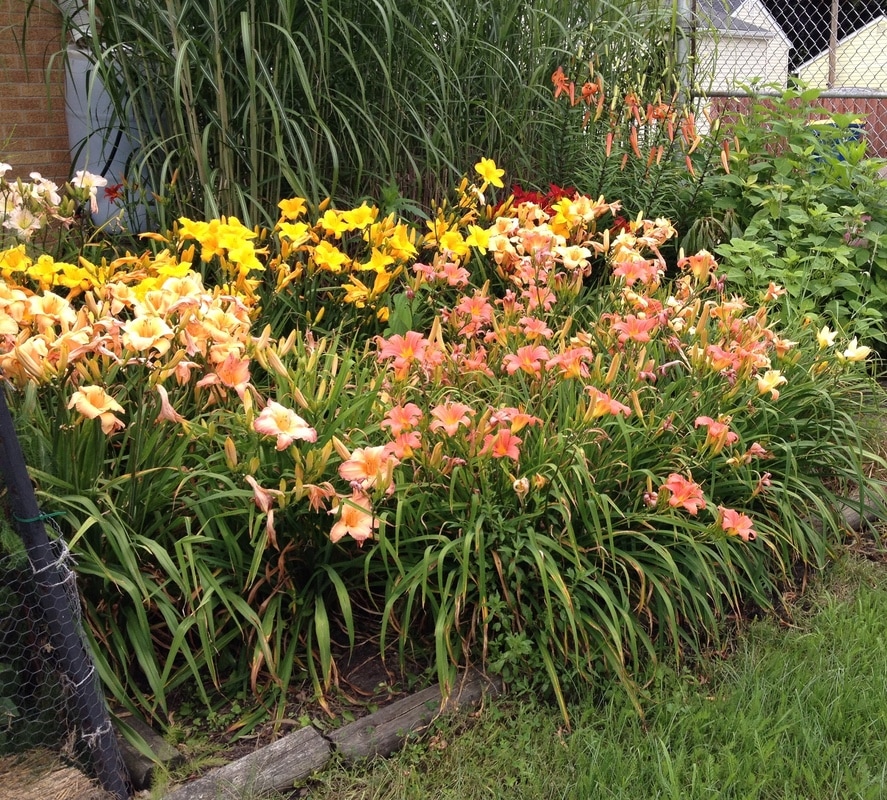
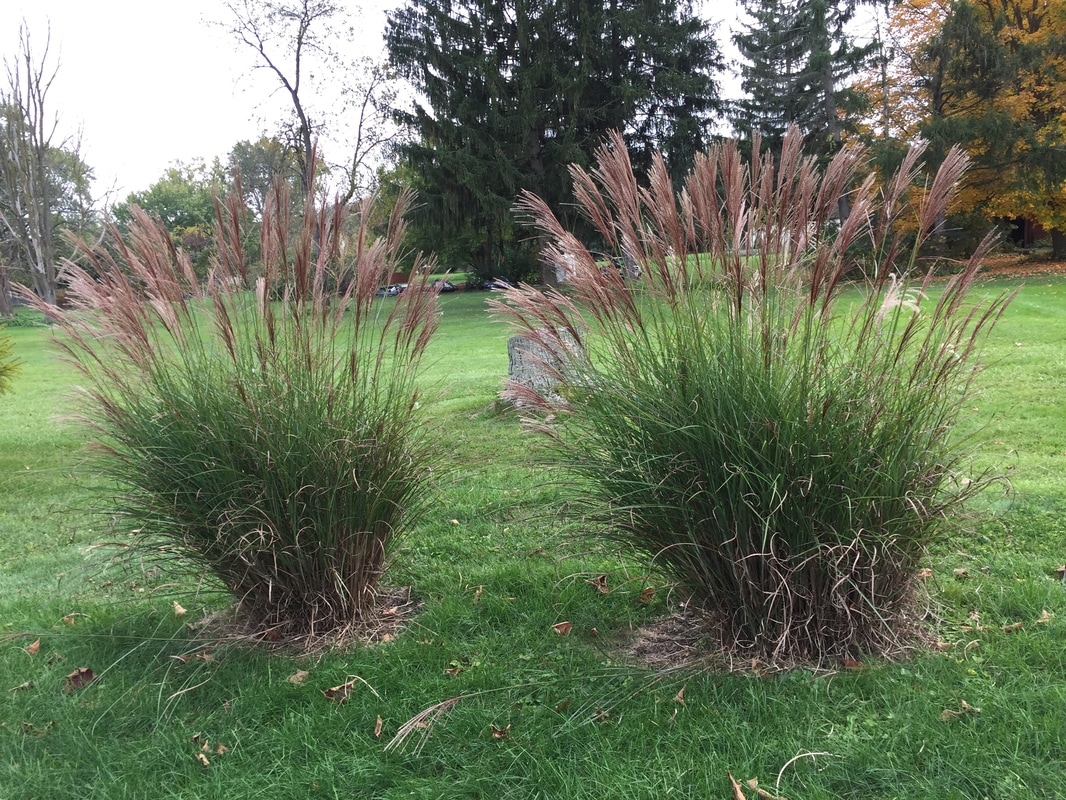
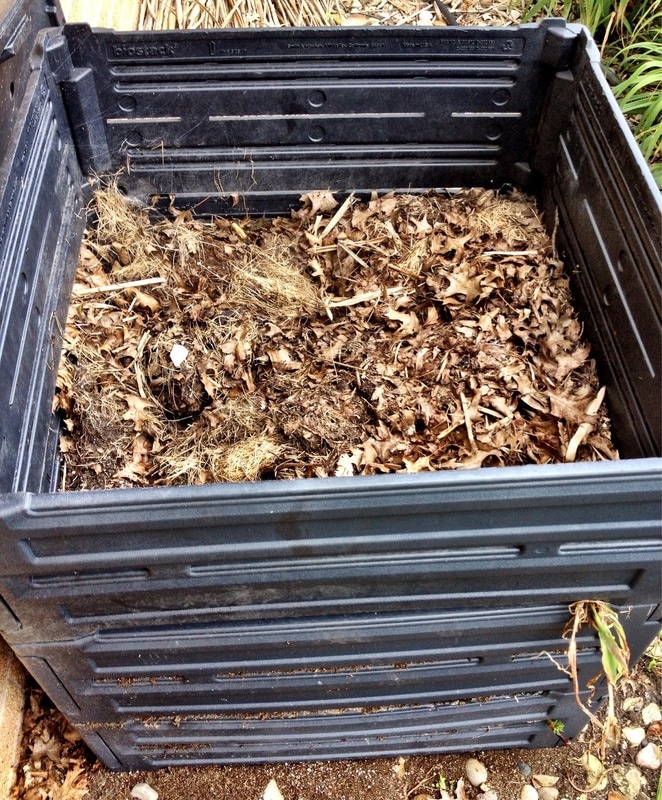
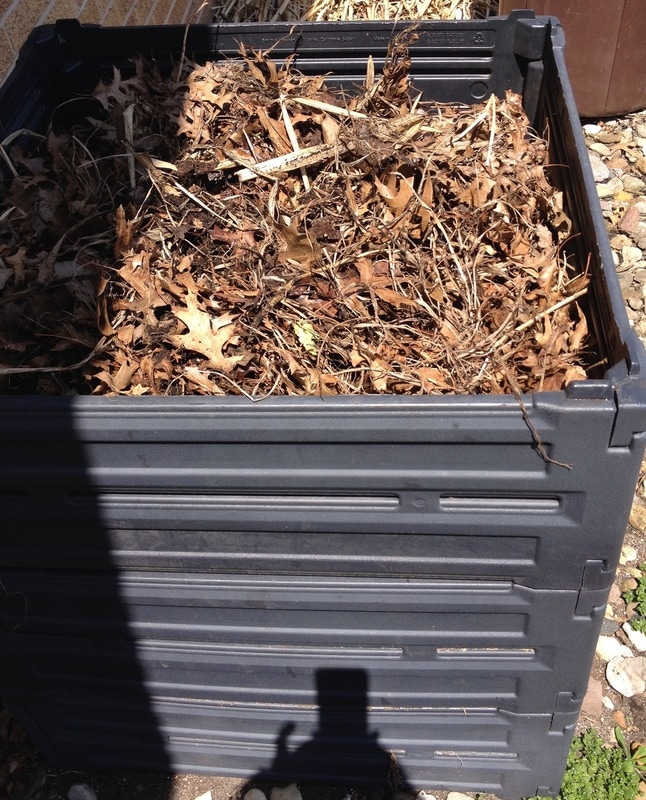
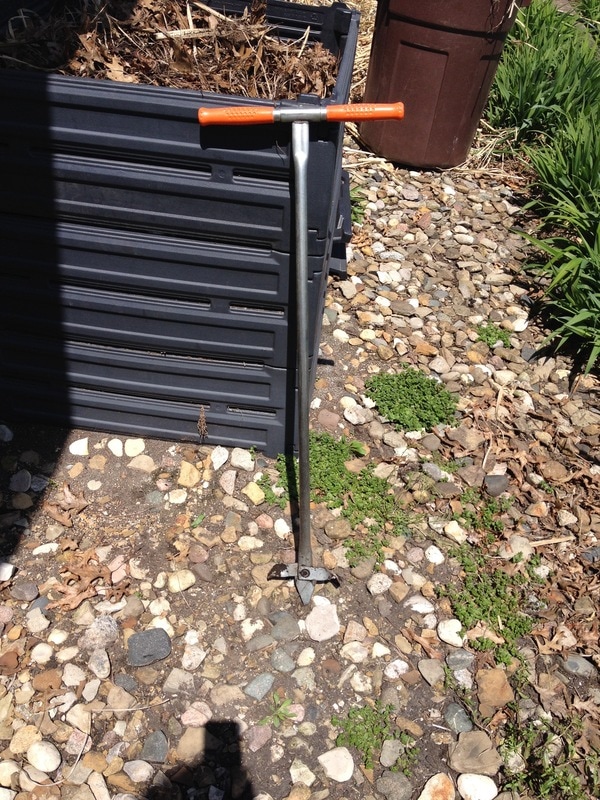
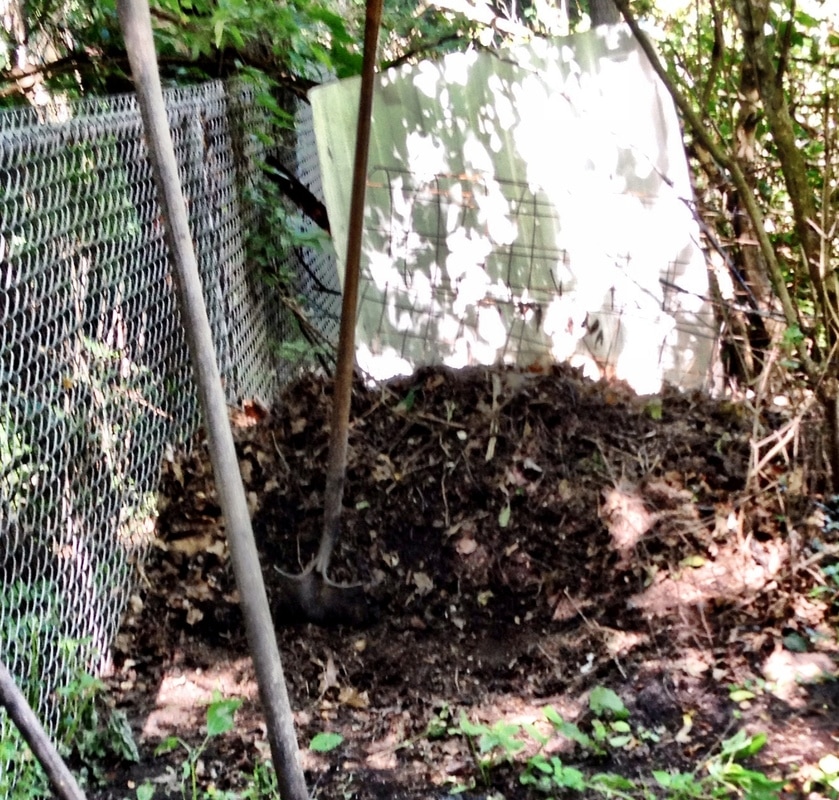
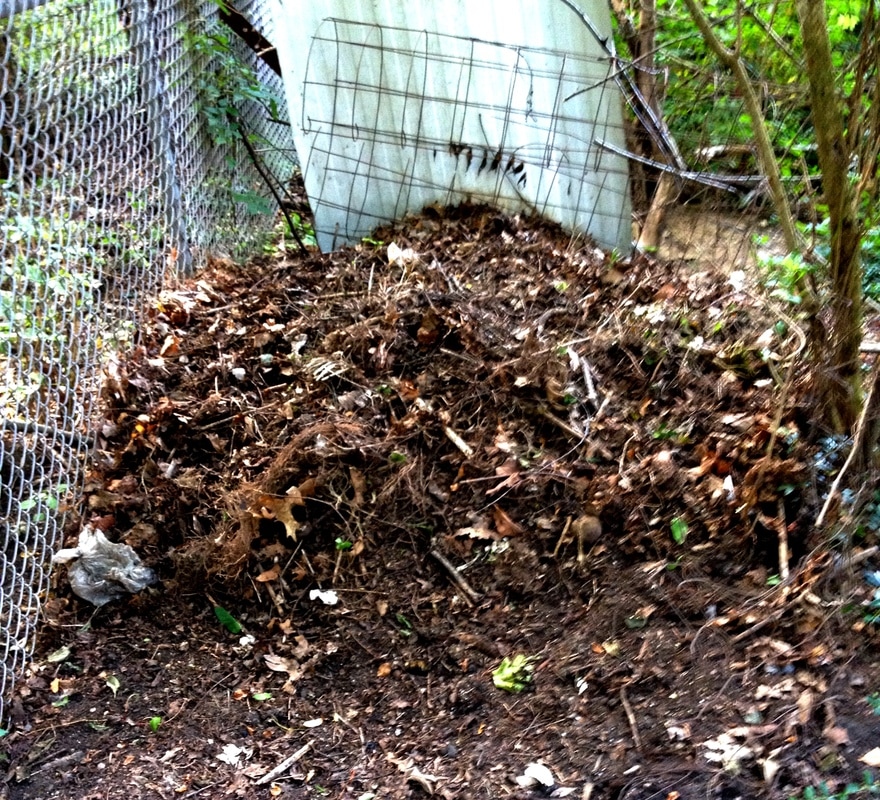
Want an organic way to grow flowers, vegetables and herbs, enrich the soil for landscaping  plus recycle food and yard waste that is clean and great for the environment?

Give composting a try!

Benefits of composting:

* Conditions the soil
* Recycles kitchen and yard waste
* Enriches your soil which can reduce the chance of plant diseases
* It’s good for the environment reducing the need for chemical fertilizers
* Reduces landfill waste


First, find a compost container to collect kitchen waste from inside your home.

To make collecting food scraps easy, you'll want a small kitchen container to collect
materials that you will add to your compost.  There are many options of various sizes
and styles.  A few things to remember is that you'll want something fairly small so that you
can easily empty it on a regular basis, as materials will break down quickly especially in
hot weather, which means you want to avoid keeping them too long in your home.  


This plastic container and this one both have built in carbon filters that absorb odors and
both fit easily under your kitchen sink or can be left near your door, making it easy to grab
on your way outside, they're the ones that I actually use. Both are lightweight and the
built- in handle makes it easy to carry. I'd
 suggest regularly rinsing it after emptying to keep
it clean and fresh smelling, filters can
 only do so much! If you want something a bit
more decorative for the counter,
this ceramic version is a nice one and comes with
plastic bags which makes it even easier
 to compost with little to no clean up!  


What can be composted?  I like to use a variety of materials, including kitchen scraps, 
paper and landscaping materials. You want things that can easily breakdown otherwise it
will take a long time for your compost to be ready to use.  


You'll want a mix of dry or brown things that supply carbon (like leaves or paper) and wet
or green things that supply nitrogen (like food scraps).  Make sure to keep your compost
wet and aerate each time you add material.

A few examples that can be added to your compost:
* Grass clippings, leaves, wilted flowers and trimmed dried leaves from houseplants are great
   to add, but I'd say use all in moderation;
* Egg shells;
* Fruit and vegetable scraps;
* Coffee grounds, including coffee filters;
* Pencil shavings;
* Cooled ashes from the fireplace or outdoor fire pit (but in moderation).

Next, either use a special bin made for composting, or like my parents have always done,
pick a space somewhere in your yard, usually a spot that is out of site, where you can create
a compost pile directly on the bare ground. This is by far the easiest and great if you have
a secluded part of your yard, but keep in mind it’s not very pretty!

Composting bins: There are many composting bins available for purchase, some have a 
built- in crank like this one or this one, which makes aerating (mixing/stirring) much
easier but if you're looking for a larger bin like the one I use this one,
this one or this one hold
a
 large amount of compost, but you'll need to aerate or mix the contents yourself.   

Aerating: It’s important to keep your compost well mixed, especially necessary each time
you add something to your existing compost.  Whether you use an aerator like I
have pictured below, a shovel or pitchfork, anything that makes it easy to mix will work.  
You don’t need to mix the pile a lot, just turn over the compost to cover whatever you’ve
just added. (keep in mind if you are using an open container, you’ll want to cover food
waste to keep animals from visiting!).  Turn the pile once a week to add oxygen, even if
you haven’t added anything new to the pile. Turning the pile speeds up the
composting process.

Water: composting needs water so make sure to sprinkle water regularly on the pile so that
it looks similar to a wet sponge, too much water can cause the pile to rot instead of compost
so monitor carefully. If you’re experiencing a rainy season and you are creating your
​compost directly on the ground, cover with a board, plastic, 
even carpet scraps can work.
 
When is it ready:  when the pile no longer gives off heat and appears dry, brown and
crumbly it’s ready to use.  This will vary according to the carbon to nitrogen ratio of your
pile and it could take anywhere from 3 months up to one year for your compost to be
ready for use.  

So, a little extra effort each day in recycling your kitchen scraps and adding yard waste
rather than putting it in your weekly garbage pickup can result in the richest soil for
​growing fantastic flowers and vegetables!

Happy composting!
​

The bin that I use
Aerator that I use
Composting directly on the ground
Compost ready to use!
Kitchen compost container that I use
0 Comments

Your comment will be posted after it is approved.


Leave a Reply.

    Archives

    July 2019
    June 2019
    January 2019
    December 2018
    October 2018
    May 2018
    April 2018
    October 2017
    September 2017
    August 2017
    July 2017
    June 2017
    May 2017
    April 2017
    March 2017
    February 2017
    January 2017
    December 2016
    September 2016
    August 2016
    June 2016
    May 2016

    Categories

    All

    RSS Feed

Powered by Create your own unique website with customizable templates.
  • Yoga with Sara
  • Classes Descriptions & Registration
  • About
  • Shop
  • Class Polices
  • Yoga Blog
  • Contact